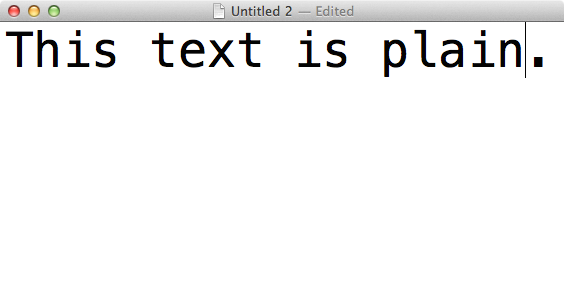
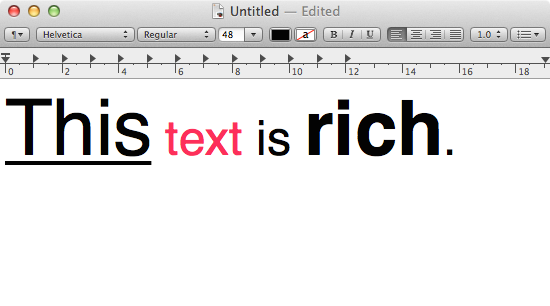
All code, no matter the language, is written in plain text. Plain text documents are those that don’t allow for any formatting, such as applying fonts, colours, and sizes. Documents that permit formatting are called rich text.
Rich text is what you produce in Microsoft Word or the visual editor in your CMS. Another name for it is WYSIWYG. But plain text is the only format web browsers truly understand. To start writing HTML, you’ll need to to write plain text with a text editor.


Choose your editor
In the hands of a skilled coder, a text editor is like a Jedi’s lightsaber: not as clumsy or random as a word processor. An elegant weapon, for a more civilized age. Armed with her trusty text editor, a coder can whip up anything from a blog post to the next Facebook. The only limits are her imagination, her free time, and her venture capital.
Which text editor you decide to code with is a matter of personal taste. Like any tool, use the one you find most comfortable. Since plain text is a free and open format, you can always switch later.
Windows and OS X come with Notepad and TextEdit, respectively. They can both get the job done, but they’re missing some helpful quality-of-life features. Two fantastic and free alternatives are Notepad++ for PCs and TextWrangler for the Mac. For the rest of this series, we’ll assume you’re using one of these apps.
Text editors are for more than just code. They’re ideal for writing, too. There are many reasons to do your online writing in plain text, and I won’t cover them in this post. But the most important reason is quite simple: everything you publish on the web ends up as plain text. Specifically, it ends up as HTML.
Even if you write your articles in Google Drive or MS Word, they’re going to be converted to plain text and HTML at some point. (And if you’ve ever copied and pasted from Word into WordPress, you’ll know that plenty gets lost in translation.)
If you write online, you’ll find you just can’t avoid plain text and HTML—no matter how hard you try. So skip the middleman: practice coding and writing in your text editor. It will make your life much simpler.1
Get your code on
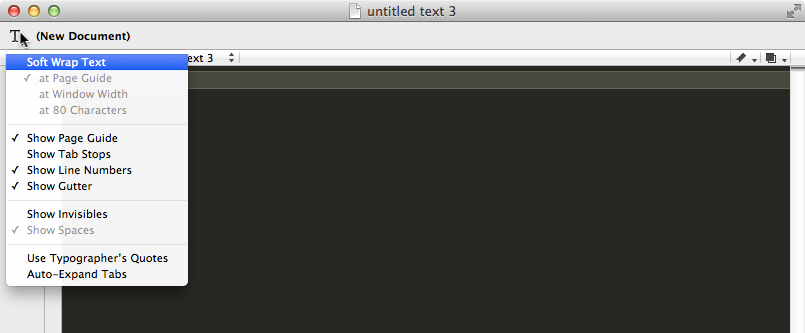
Once you’ve downloaded and installed a text editor, open it up to a blank document. Since you’re a writer, the first thing you’ll want to do is turn on word wrap:2

Next, copy or type the following line of code into your editor:
Hello <strong>World</strong>
Save your document. Name it helloworld.html. (Make sure the extension is .html and not .txt or .html.txt.) Save it to the Desktop or a folder where you can easily find it.3 If you’ve named the file correctly, your editor will recognize that you’re writing HTML code and highlight the <strong> tags in a distinctive colour.

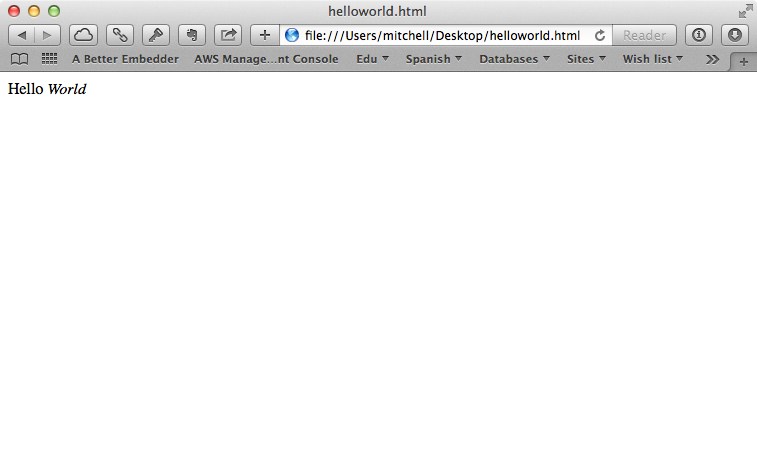
helloworld.html and TextWrangler gave me purple code for my efforts. Your colours might be different.Once you’ve saved your helloworld.html file, locate it in your file manager and double-click it. It should launch your computer’s default web browser. If that doesn’t happen, right click on the file and select Open With, then choose your browser. You should then see your new HTML page in its full glory:

At this point, you likely have a good of what it is that <strong> does. Web browsers will bolden any text between <strong> and its closing tag, </strong>. (All closing tags begin with a forward slash, ”/”.)
Let’s try a different tag. Go back to your file and change the opening <strong> tag to <em>. Do the same to its closing tag: </em>. Your code should look now like this:
Hello <em>World</em>
Save your file, then go back to your web browser and refresh the page (⌘+R on a Mac, or F5 on Windows). You will need to refresh your browser whenever you make changes to an HTML file for those changes to show up. You should now see this in your browser:

Simple stuff. The <strong> tag tells the browser to make text strong (bold), and the <em> tag tells the browser to emphasize (italicize) it.4 Tags, or elements, are all the words between triangle brackets. They’re visible in your text editor but not in your web browser. Closing tags begin with slashes. Any text between opening and closing tags is affected by those tags. If you grasp these points, you fundamentally understand HTML.
Of course, the rabbit hole goes much deeper—as we will soon see. For now, practice writing longer blocks of text and formatting them with <strong> and <em>. Try these exercises:
- Combine multiple
<strong>tags. - Put an
<em>tag right next to a<strong>tag. - See what happens when you leave out a closing tag.
- Go wild. Don’t worry. You can’t break anything. (At least, not until we get to JavaScript!)
Next time, we’ll go into more detail about the way tags behave and what happens when they shack up with other tags. Are you sick of the word “tag” yet? I hope not. See you soon.
-
If you’re already kinda familiar with HTML and want to start doing more of your writing in plain text, Markdown is for you. ↩
-
Web developers don’t typically use word wrap. Instead, they follow a convention of manually limiting each line of code to 80 characters long. But when you’re composing paragraphs, having to press enter once every 80 characters gets pretty ridiculous. So turn on word wrap, but try to respect the rule when writing lines that only contain code. ↩
-
For bonus nerd points, save all your code to a folder named src (short for “source [code]”). ↩
-
If you learned HTML several years ago, you may be wondering why I’m using
<strong>and<em>instead of<b>and<i>. We’re already running into a major change in HTML5, which does away with tags that are strictly presentational in favour of tags that are semantic. We’ll learn more about this soon. ↩